Get the IP address of the XPS server from the Cluster Services view in the N4 client: Administration  System Cluster Services Cluster Services view. For details, see Cluster Services view information (on page 1).
Starting the XPS client lets you use the XPS graphical planning and control features that integrate with N4. The XPS clients at your terminal perform a variety of different functions that reflect the needs and licenses of your operation, with some dedicated to yard and vessel planning, statistics, manual dispatching, or automated dispatching from the server room (PrimeRoute for Terminal Tractors, PrimeRoute for Straddle Carriers, or ASC optimizer). Server-room clients require special privileges. See Set up the server-room XPS clients (on page 1) for more information.
To install an XPS client:
Get the IP address of the XPS server from the Cluster Services view in the N4 client: Administration System Cluster Services Cluster Services view. For details, see Cluster Services view information (on page 1).
On any computer that is networked to the XPS server, unzip the Sparcs N4 Client.zip archive into a location of your choice.
The unzipped folder contains a file called, Sparcs N4 Client.exe. Hold down the SHIFT key when you double-click when you double click the Sparcs N4 Client.exe file. The XPS client opens and displays a Configuration dialog.
For Mode, choose Client.
In the area labeled Private Folder, the dialog might display a path, or it might say, [not set]. Click Change. A directory window appears, titled, Please open SPARCS banner.
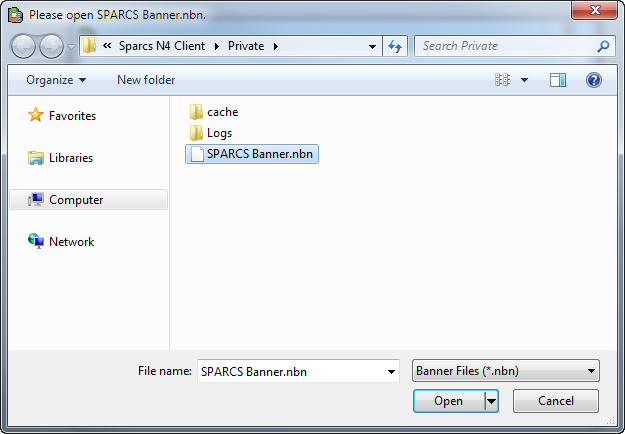
Double-click the file, SPARCS Banner.nbn. The directory window closes, and the file path appears in the Private Folder area.
In the XPS Server Address field, type the IP address for the XPS server that you wrote down in step 1.
The Client Port field has a value in it. The default is 13000.
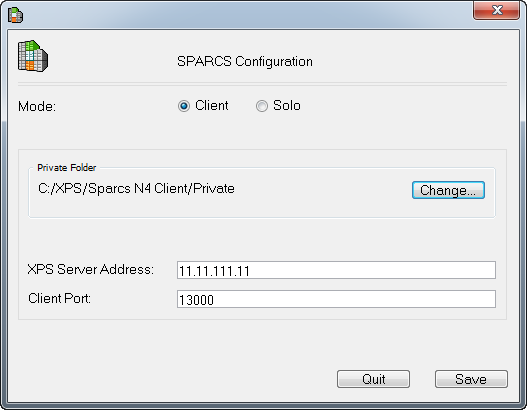
Click Save. The Configuration dialog closes, and after several seconds, the XPS client activates, and a Log In dialog appears.
Choose the Registered User radio button. Name and Password fields appear.
Enter the Name and Password. (The defaults are Name = admin Password = please)
Click Begin. (If a Windows security window appears noting that some features are blocked, choose Unblock.) Your N4 environment is now synchronized with the specific XPS client, and is ready to test.
As XPS initializes, the start-up screen and Notices window display. The Notices window provides messages on the status of the start-up process. You must fix any configuration issues shown in the Notices window before proceeding. See Use the Notices window to identify configuration issues for more information.